… without bruising your wrist.
Yes, it is possible!
If you’ve been incorporating a variety of kettlebell movements into your regular programming for a while now and no longer grapple with this common beginner’s issue, feel free to use the following progression as a warm up for reinforcing and refining your technical skills. While kettlebells have been steadily gaining popularity over the past ten (twenty?) or so years, there is no doubt that the steady growth has turned into much more of a spike in times of COVID-induced gymless-ness. The RKC instructor handbook describes the kettlebell as a full gym incorporated into one piece of equipment. While I’ll always love barbells, dumbbells, sandbags and odd objects, I have to agree that a kettlebell is a saving grace in these times. Since the clean is a staple movement, here is a little review on how exactly to tackle it:
Kettlebell Clean Progression
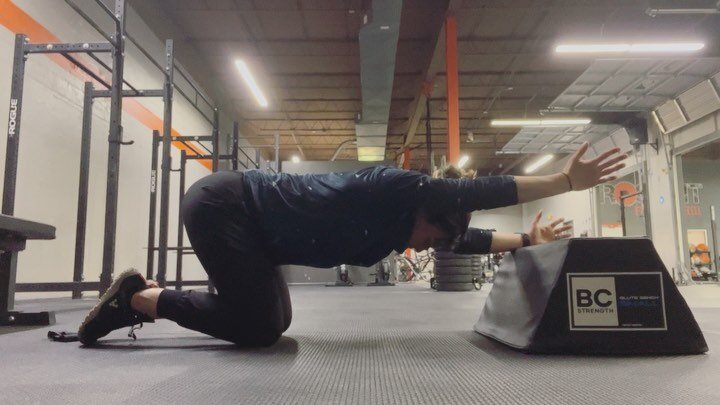
A. Half-kneeling Dead Stop Clean
B. Assisted Dead Stop Clean
C. Dead Stop Clean
D. Clean with Hike/Restart
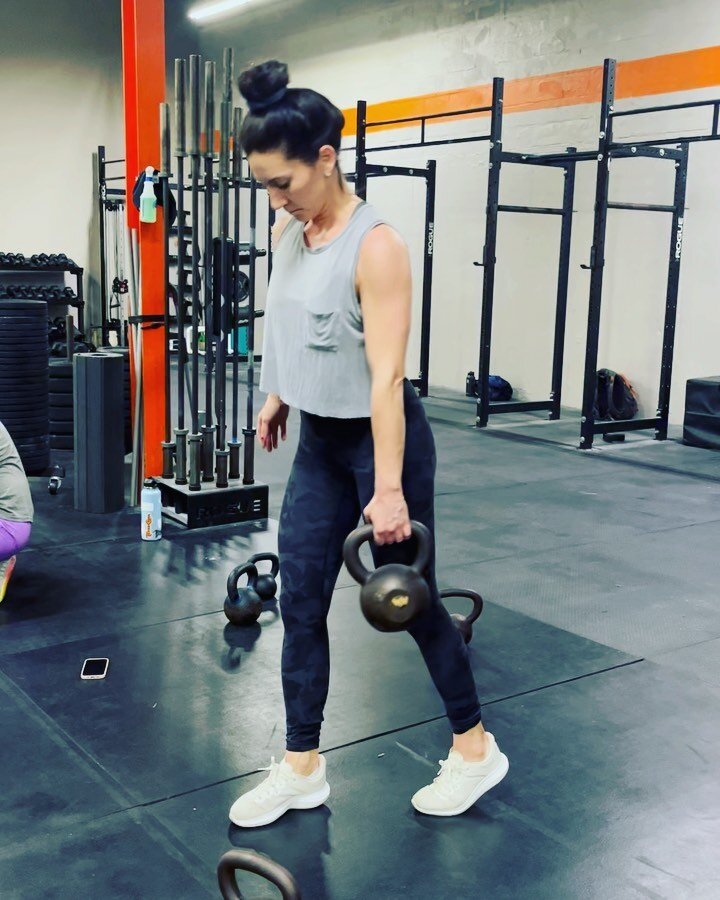
E. Clean
The key to a smooth kettlebell clean is:
1) STRONG hip extension with no hip swivel: Contract the glutes, quads and midline simultaneously and forcefully- make it snappy. The hips do the work while the arms and back muscles guide the direction of the bell.
2) Upper Arm stitched to rib cage: Working elbow pulls just past your mid line as you tame the arc, keeping the bell close as soon as your hips extend.
3) Rotate the bell around your wrist, relax the arm.
4) Breathe: Your breathing pattern facilitates quality movement. As with any ballistic kettlebell exercise (please accept my apologies, as I don’t do a good job of demonstrating here while talking), remember to inhale through the nose as the bell swings inward (your relaxation phase), followed by a forceful exhale with your tongue pressed to the roof of your mouth upon hip extension (work phase).
And that about covers it. Give it a try, have fun, and let me know if you have any questions. Happy cleaning!