The Kettlebell Windmill
Hello! Happy Friday, friends. I’m here to talk to you about more kettlebell shoulder prep - this time, in the form of a windmill.
The windmill involves laterally hinging underneath the bell while maintaining a vertical arm, incorporating a side, hip and leg stretch while encouraging proper hip mechanics and dynamic stabilization of weight overhead.
Things to keep in mind when performing a windmill:
Similar to a Turkish Get Up or a mini band monster walk, a windmill should never be performed for time or as a core lift. If a military or bench press if your primary strength piece for the day, the windmill is the preparatory work you do before the movement, or the accessory work at the end of your training session.
Barbell Overhead Press = steak
Windmill = the glass of milk your mom makes you drink before you leave the table
Why not do this movement for time? There is no application for the windmill that makes it appropriate to perform in a manner that is not slow and controlled. If you try to AMRAP windmills, the mobility and scapular stability components will take second seat, and then you’ve lost the whole point.
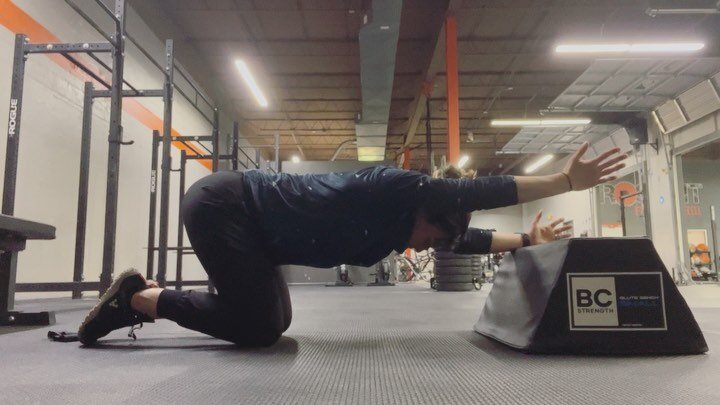
Set up:
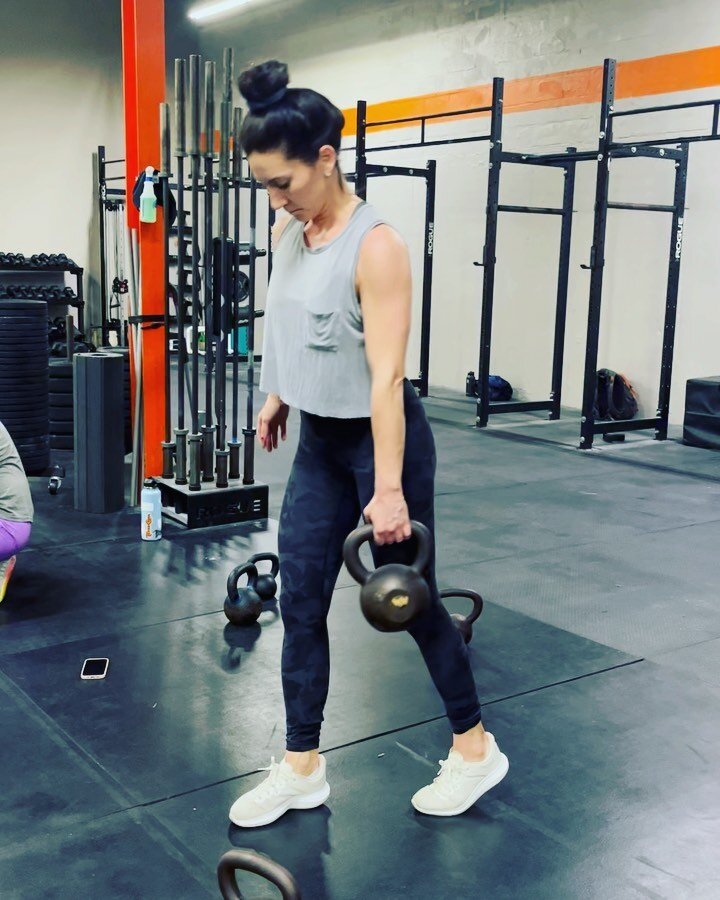
Snatch or clean and press the bell overhead, depending on the weight.
Position feet about shoulder-width apart - closer than you think they should be. Whenever I teach people the windmill, nine times out of ten they begin by bringing their feet out to a squat stance. This is too wide. (My stance in the video below should admittedly be smaller! )
Pivot the feet 30-45 degrees away from the weighted arm. If you have progressed to the point where you are using two kettlebells, angle your toes away from the overhead arm.
Shift your weight approximately 70% on your back leg, 30% on your front leg as you begin to push the hips out and back. The back leg should remain as straight as possible, with the front knee as soft/hinged as necessary (knee stacked on top of ankle) to maintain your neutral spine. Your shoulder moves down and to the side because your hips are moving back and away.
DO NOT LATERALLY FLEX YOUR SPINE (don’t round your back) in an effort to get your shoulders lower and come into a deeper windmill, even if it means your bottom hand barely grazes below your knee. Depth will come with time and practice. Find mobility from your hips while maintaining a consistently neutral spine. If your spine starts to flex, then your hips are likely locked in place because you’re failing to find a proper hinge. I promise, your hips will move! Maybe not on the first try, and maybe not without some external or tactile cuing. It may take some time to build awareness if you are not used to the lateral hinge as a movement pattern.
Once you’ve got the pattern down, 2-3 sets of 3-5 reps per side is great! No need to go for volume here - quality over quantity with a challenging but manageable weight will do the trick. Combine with Turkish Get Ups for a complete shoulder warm up.
Have fun!
If you would like to read even more about the windmill, I suggest you check out this article by Brett Jones of StrongFirst!